How to Reverse Engineer Any App Feature with REA and Your AI Agent
Connect REA to your AI coding agent, trace a real app feature from a button to the code that runs it, and check every claim against evidence you can verify yourself.
You click a button in someone else's app, and something clever happens. A file lands in exactly the right folder, a sound pans left as the ball moves left, or a paste keeps its formatting across two windows. You want to understand how it works, but you have no source code, no documentation, and no one to ask.
REA, short for Reverse Engineer Anything, closes that gap. It gives your AI coding agent real reverse-engineering tools and returns every finding with the evidence behind it. At the end of this guide, you have REA connected to your agent, you have traced a real feature from a button to the code that writes a file, and you have verified one of the claims yourself.
Understand What REA Does
This section explains what REA is and why its results are different from a model's guess.
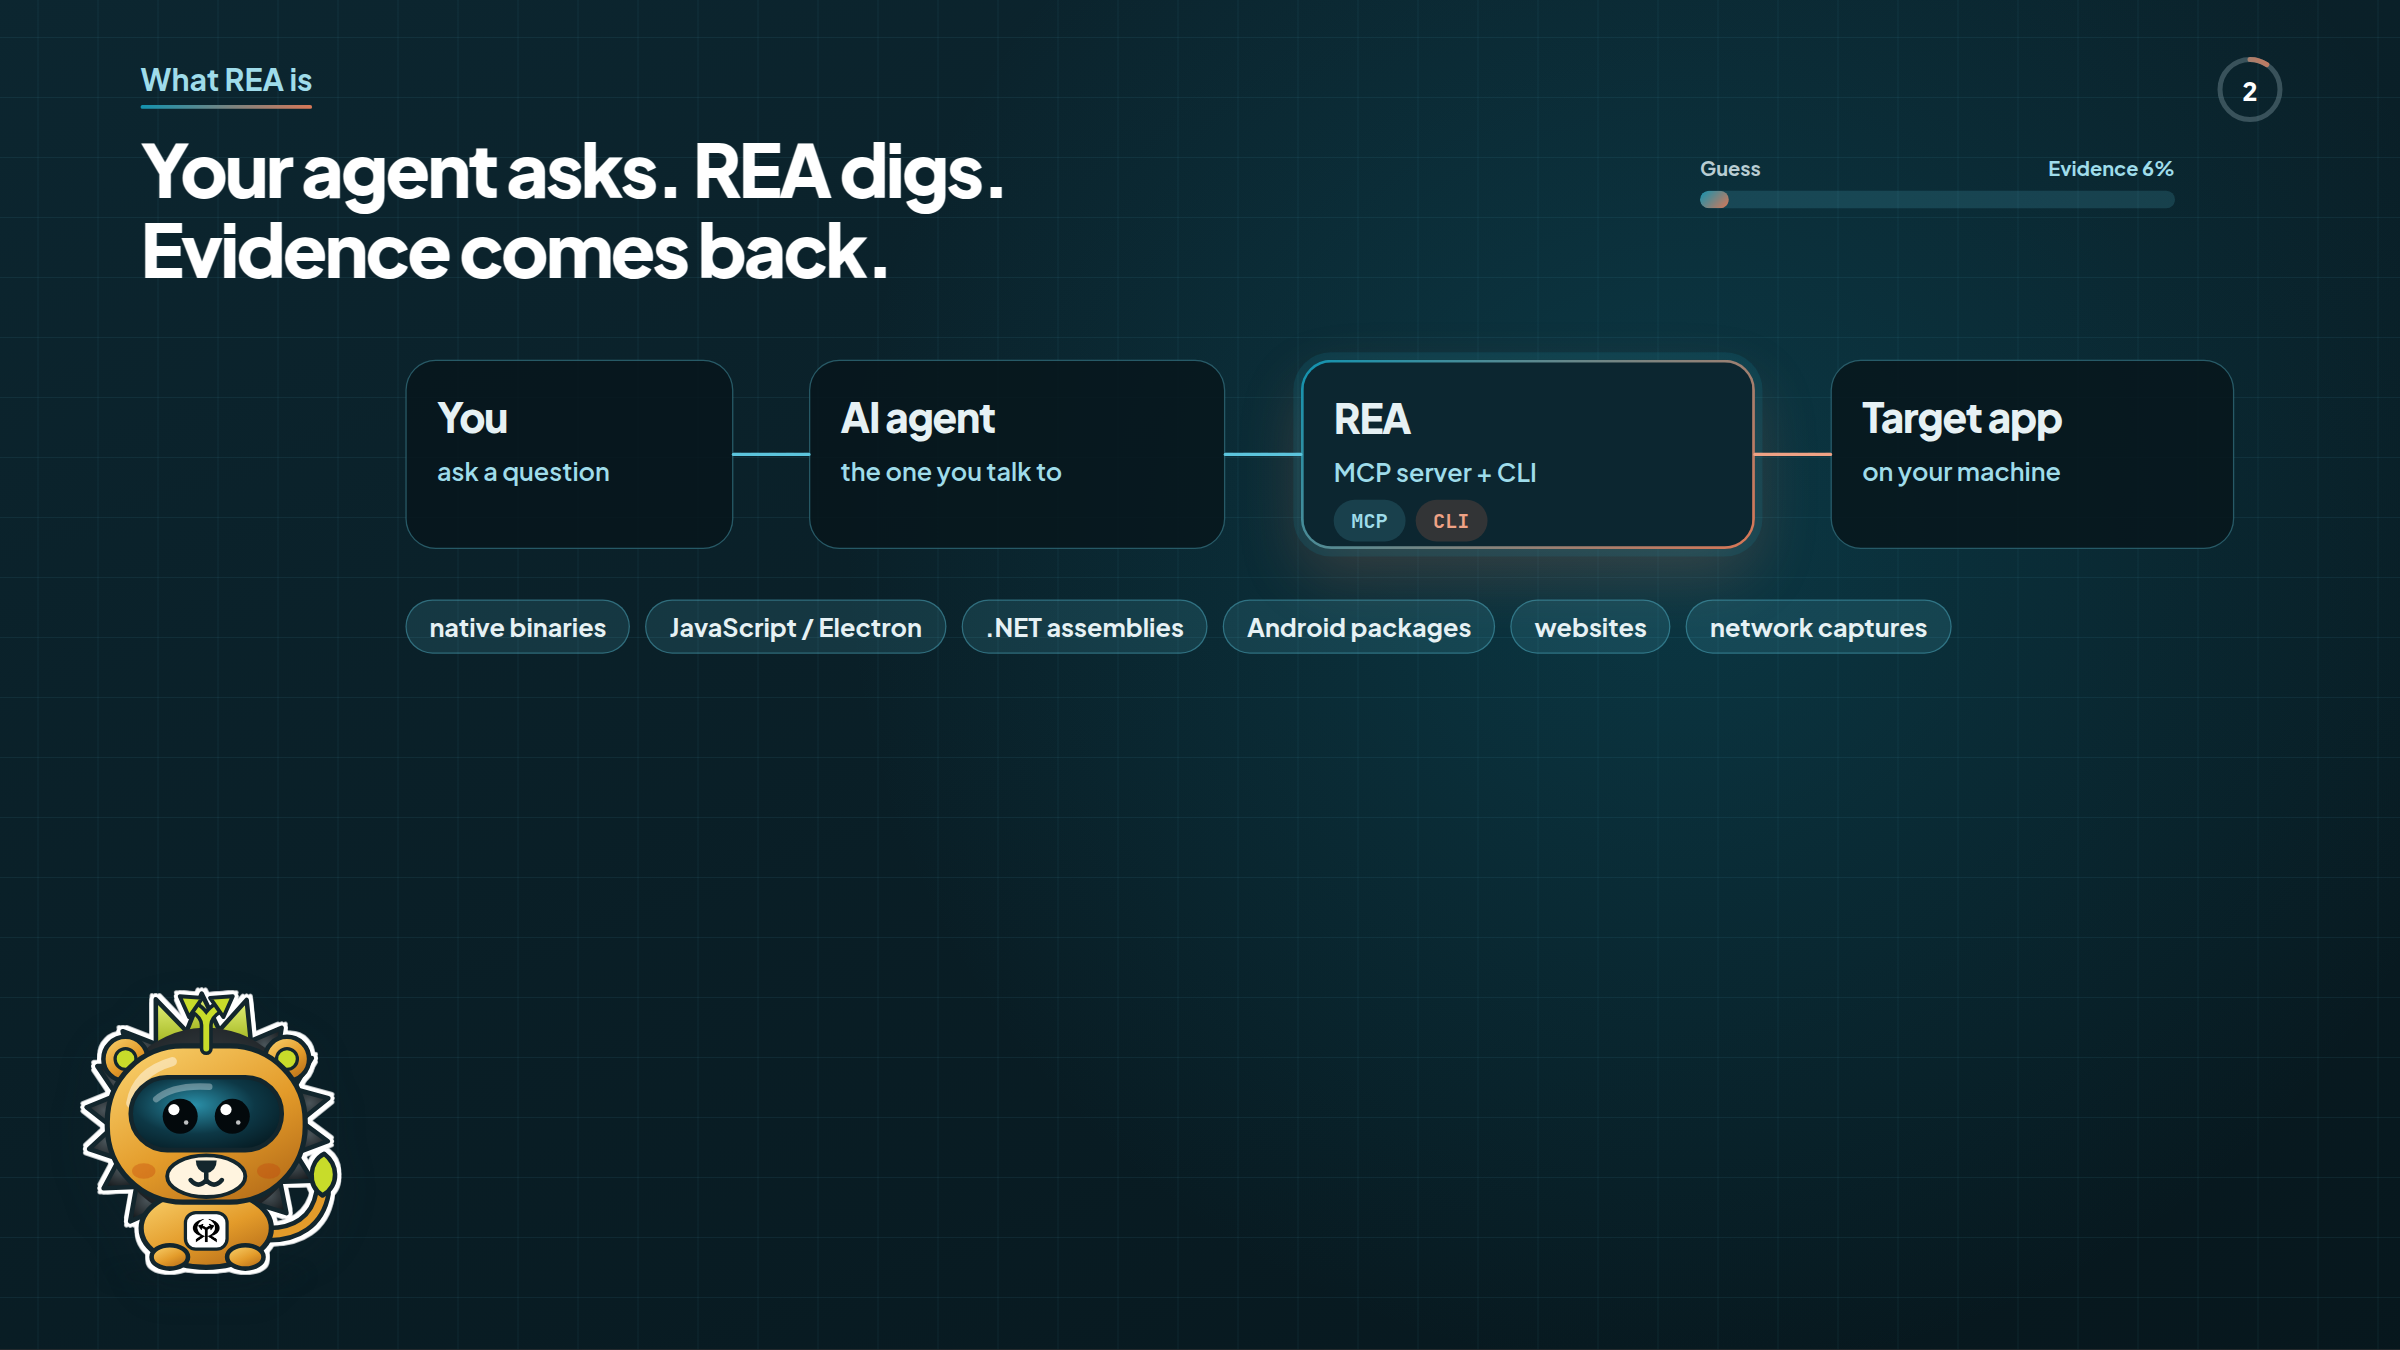
REA is an open-source Model Context Protocol (MCP) server and Command Line Interface (CLI), published on npm as rea-agents. Your agent stays the assistant you talk to; REA is the set of instruments it reaches for. It inspects native binaries, JavaScript and Electron apps, .NET assemblies, Android packages, websites, saved network captures, and more.
The difference lies in what comes back. Every REA result carries its evidence:
- the exact artifact it read, identified by its digest;
- the location of each finding, down to the file and line;
- a clear split between what REA observed, what it inferred, and what remains unknown.
That split matters. When your agent explains a feature, you can trace every claim back to bytes on disk instead of trusting a plausible-sounding answer.
Decide When REA Is the Right Tool
This section helps you recognize the situations where REA pays off and the ones it does not support.
Reach for REA when you need to understand behavior and the source is not available. Three situations come up again and again:
- Learn from a feature. You see a feature in an app and want something similar in your own product. REA explains how it works so your agent can write and test your own version.
- Debug or audit software you own or are authorized to examine. Examples include a legacy binary, a vendor library, or a desktop build with no symbols.
- Compare versions. You need to know what changed between two shipped versions of an application.
REA is the wrong tool for circumventing DRM, license checks, or anti-cheat systems, and for copying proprietary code. The project does not support those uses. Possessing a file does not grant permission to do everything with it, so keep your work lawful and authorized.
Prerequisites
Before you begin, you need:
- Node.js 22.19 or newer on the 22 line, 24.11 or newer on the 24 line, or version 26 and up, with npm.
- An AI agent that supports local MCP servers, such as Claude Code, Codex, Cursor, or Gemini CLI.
- For deep analysis of compiled programs only: Ghidra, Hopper, or IDA. JavaScript, Electron, and .NET inspection need no analysis engine.
- On Linux: the standard
pscommand from your distribution'sprocpsorprocps-ngpackage. REA uses it to check process ownership before launching analysis tools.
Check your Node.js version:
$ node -v
If the output shows an older version, upgrade Node.js before you continue.
Connect REA to Your Agent
This section registers REA with your agent in one guided command.
-
Run setup with the latest package:
$ npx rea-agents@latest setupSetup lists the supported agents. Select the ones you use.
-
Review the plan. Setup shows every configuration file it intends to change and where it installs the workflow instructions for your agent. Nothing changes until you approve. Setup backs up your existing configuration and preserves unrelated entries, and pressing Ctrl-C makes no changes.
-
Restart every agent named in the completion message. Agents load MCP registrations at startup, so skipping the restart is the most common reason REA's tools do not appear.
To preview the plan in a script without writing anything, run npx rea-agents@latest setup --client codex --dry-run.
Ask Your Agent About a Real Feature
This section runs your first investigation against a small Electron notes app.
REA's website provides a six-file Electron example with a single Export notes button. Clicking it creates a CSV file somewhere on your computer. Before you read further, guess where that file goes and which columns it contains.
-
Download the example from
rea.tools/examples/notes-example.zipand unpack it. -
Ask your agent a specific question about the folder:
Use REA to find what happens when the Export notes button is clicked. Show where notes.csv is written, which fields it contains, and the relevant files and lines.The prompt names the feature, asks for a concrete outcome, and demands files and lines. That last requirement keeps the answer grounded in evidence.
Your agent hands the folder to REA's JavaScript application analysis. REA parses the code as inert text. It never installs or launches Electron, and it never runs the app.
Follow the Evidence Trail
This section walks through the path REA recovers from the button to the file writer.
The answer arrives as a path through three files:
renderer.js: the button's click handler callswindow.notes.exportCsv().preload.js: a context bridge exposes thenotesobject, andexportCsvsends an Inter-Process Communication (IPC) message on the channelnotes:export.main.js, lines 8–12: the main process handles that exact channel, builds a path in the user's Downloads folder, formats the notes withtoCsv, and writesnotes.csv.
ipcMain.handle("notes:export", () => {
  const destination = path.join(app.getPath("downloads"), "notes.csv");
  writeFileSync(destination, toCsv(notes), "utf8");
  return destination;
});
The file lands in Downloads, and its columns are id and title. REA paired the renderer's message with the main-process handler by reading the code. Your agent did not invent that link; it pointed at it.
Check a Prediction Yourself
This section turns one claim into an experiment you run in seconds.
A comma separates CSV columns, so a note title that contains a comma and quotation marks is a good test of the formatter.
-
Ask your agent to predict the CSV output for a note with ID
1and the titleHello, "REA". -
Open a terminal in the unpacked example folder and run the app's own formatter:
$ node -e 'const { toCsv } = require("./csv.js"); process.stdout.write(toCsv([{ id: 1, title: "Hello, \"REA\"" }]))'The output shows the title in one quoted field, with each quotation mark doubled:
id,title1,"Hello, ""REA"""
Prediction followed by verification is the habit that turns reverse engineering from guesswork into engineering.
Run the Same Analysis from Your Terminal
This section reproduces the investigation with the CLI, which suits scripts and Continuous Integration (CI) pipelines.
The CLI uses the same workflows and the same evidence format as the MCP server.
-
Install the
reacommand globally and list its commands:$ npm install --global rea-agents$ rea --helpThe help output lists every workflow, from Android packages to WebAssembly.
-
Analyze the example folder and save the evidence to a file:
$ rea analyze-javascript-application /absolute/path/to/notes-electron --json > notes-evidence.jsonEvidence for a real application can reach hundreds of megabytes, so save it instead of printing it.
-
Project a summary view from the saved evidence:
$ jq -c '{source: {kind: "inline", evidence: .}, view: {kind: "summary"}}' notes-evidence.json > notes-view.json$ rea inspect-analysis-view notes-view.jsonFor the notes app, the summary reports six relevant files, four parsed JavaScript files, one context bridge, one main-process handler, and one renderer message paired to that handler, with complete application coverage.
For a large application, the summary view turns evidence of hundreds of megabytes into roughly ten kilobytes, small enough for your agent to read in one pass.
Trace One Feature Through the Graph
This section follows a single feature through every connection REA recovered.
A summary tells you what exists; a feature trace tells you how it connects.
-
Build a trace input from the saved evidence and a literal seed, here the channel name
notes:export:$ node --input-type=module -e 'import { readFileSync, writeFileSync } from "node:fs"; const application = JSON.parse(readFileSync("notes-evidence.json", "utf8")); writeFileSync("trace-input.json", JSON.stringify({ application, seed: { kind: "string", value: "notes:export" }, direction: "both" }));' -
Run the trace:
$ rea trace-application-feature ./trace-input.json --jsonOn the notes app, the trace matches five seeds and returns 32 nodes connected by 45 edges, including the IPC handler, the context bridge, and the file system module. It reports 31 observed facts and 48 inferred facts separately.
REA never blends what it saw with what it concluded. That separation lets you trust the answer on an application far larger than this example.
Go Deeper into Native Binaries
This section extends the same approach to compiled machine code.
Configure Ghidra, Hopper, or IDA, and REA drives the engine for you. Commands such as rea search, rea function, rea decompile, and rea trace return pseudocode, assembly, strings, symbols, calls, and references.
-
List the available engines:
$ rea providers --json -
Trace a literal through a native program, selecting the engine explicitly when more than one supports the target:
$ rea trace /absolute/path/to/program "search" --provider ghidra --json
One of the project's published case studies shows the full arc. It starts from the classic Windows game DX-Ball, follows a sound call into the helper that converts a brick's screen position into stereo pan, reads the original instructions, and rebuilds the calculation in C. The reconstruction passes 3,205 test cases against the original x86 code and reproduces all 63 bytes of the compiled function.
Match the Target to the Workflow
This section maps common targets to the workflow and tooling each one needs.
| Target | Workflow | Extra tooling |
|---|---|---|
| Electron or JavaScript app | analyze-javascript-application | None |
| .NET assembly | inspect-managed-members | None |
| Go or Rust binary | inspect-go-binary, inspect-rust-binary | None |
| Native binary | analyze, function, decompile, trace | Ghidra, Hopper, or IDA |
| Android APK | APK inspection commands | JADX and a full Java Development Kit (JDK) |
| Website | Browser observation | A Chrome-family browser |
Static inspection reads files without running them. Runtime capture, such as driving a browser scenario or recording a process, runs the target with your user permissions. Treat those workflows with the same care you give any untrusted program, and use an isolated environment when the target is unfamiliar.
Troubleshoot Common Problems
This section maps the most frequent symptoms to their fixes.
| Symptom | Likely cause | Fix |
|---|---|---|
| Your agent does not see REA's tools | The agent loaded its configuration before setup | Restart the agent |
rea doctor reports healthy: false | The default audit covers every agent and optional engine | Scope the check, for example rea doctor --provider ghidra --json or rea doctor --client codex --json |
| On Linux, Ghidra, JADX, or JavaScript analysis refuses to start | No procps-compatible ps on the PATH | Install procps or procps-ng |
| An unexplained bug | An outdated release | Run rea update for a global install, or npx rea-agents@latest setup for npx, then retry |
Conclusion
You connected REA to your agent with one command, asked a precise question about a real app, and received a path from a button to a file writer with line numbers. You tested a prediction against the app's own formatter, reproduced the analysis from the terminal, projected a compact summary, and traced a feature through its graph.
Take the next step with an app you are authorized to examine. Pick one button or one behavior, ask your agent how it works, demand the files and the lines, and check one claim yourself. Start with npx rea-agents@latest setup, and find guides and case studies on the REA website and in the REA repository.